How to Edit Photos with AI: A Step-by-Step Beginner's Guide
Learn how to edit photos with AI step by step. Master prompts, background removal, style locking, and brand-consistent editing — no design skills required.
Turn this inspiration into your own images.
Bring a brief or a reference image. Explore the possibilities with four AI models.
Free credits to start · No credit card
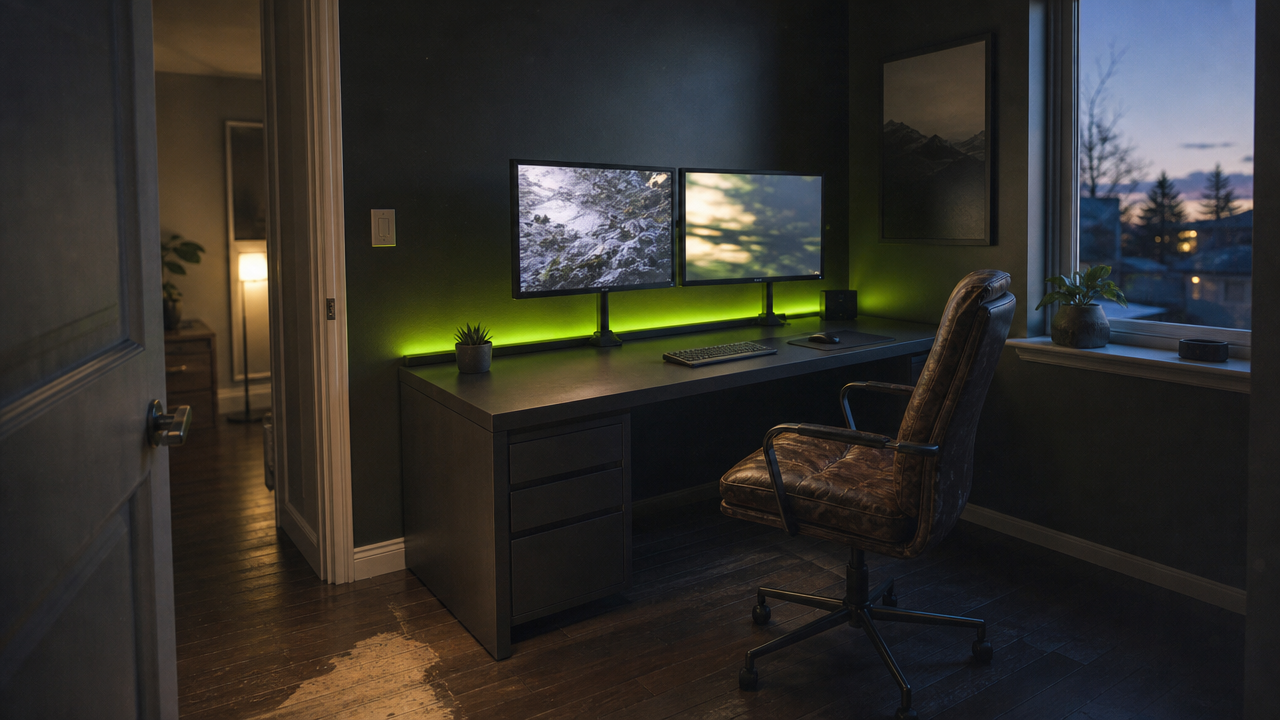
Editing photo with AI means using machine learning tools to enhance, modify, or transform images through text prompts and automated adjustments — replacing hours of manual retouching with seconds of automated precision. The AI image editor market reached approximately $2.1 billion in 2024, growing at a 15.7% CAGR. Whether you explore AvocAIdo's AI-powered editing platform or another solution, in this guide you will learn how to choose the right tool, write effective prompts, perform common edits, and maintain brand consistency — even with zero design experience.
TL;DR
- AI photo editing uses text prompts and machine learning to modify images without manual layer-by-layer work.
- You do not need design skills — plain-language descriptions drive most modern AI editors.
- Prompt quality is the single biggest factor in output quality; aim for at least 5 descriptive words.
- Common beginner tasks include background removal, object replacement, upscaling, and colour correction.
- Style locking (using reference photos) ensures brand-consistent results across multiple images.
- Start with a quality source image — AI cannot fully compensate for poor originals.
- Most platforms offer free tiers or trials, so you can practise before committing.
Checklist
- ✅ Choose an AI photo editing tool that matches your skill level and use case
- ✅ Prepare source images in high resolution (JPG, PNG, or WebP)
- ✅ Write prompts with at least 5 specific, descriptive words
- ✅ Start with one edit at a time — avoid stacking multiple changes in a single prompt
- ✅ Use reference photos to lock a consistent visual style across outputs
- ✅ Review outputs at full resolution before downloading
- ✅ Save originals separately — never overwrite source files
- ✅ Test different aspect ratios (1:1, 16:9, 9:16) depending on your platform
- ✅ Compare outputs from multiple models or tools before finalising
- ✅ Export with a commercial licence if the images are for business use
What Is AI Photo Editing and How Does It Work?
AI photo editing uses machine learning algorithms to interpret text prompts or automated signals and apply changes to images. Instead of manually selecting pixels, adjusting curves, or painting masks, you describe what you want in natural language — and the AI executes it.
Modern AI editors typically work in one of three ways:
- Prompt-to-edit — You upload a photo and type a text instruction (e.g., "remove the background and replace with a warm studio setting").
- Selection-based generation — You select a region of the image, then prompt the AI to fill, replace, or remove content within that selection.
- Style transfer — You provide reference images, and the AI applies their visual characteristics (lighting, colour palette, mood) to your photo.
Adobe's Firefly text-edit workflow supports output resolutions of 1K, 2K, and 4K depending on the model used. Canva's AI photo editing tools offer one-click operations like Background Remover and Magic Edit for simpler tasks. The approach you choose depends on how much control you need.
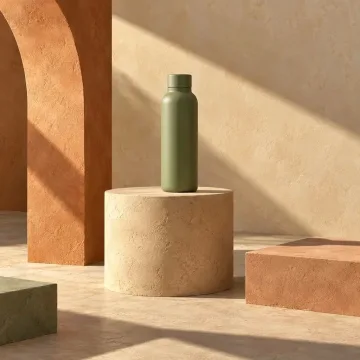
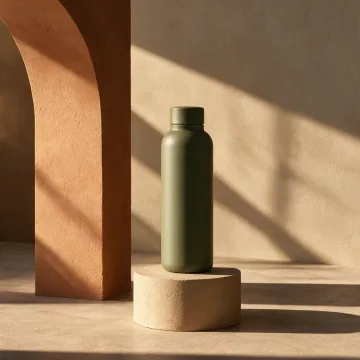
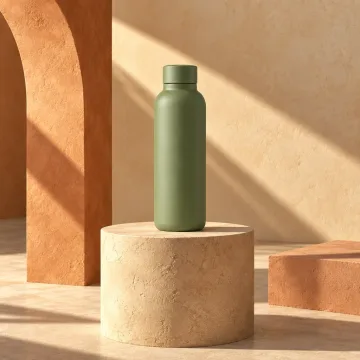
Made with AvocAIdo
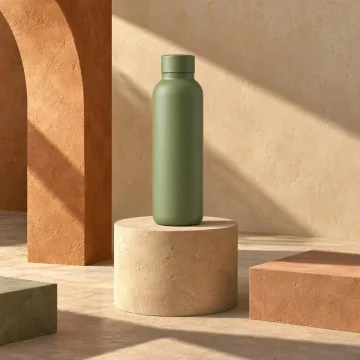
Your product. Your style. Four possibilities.
Turn a product photo and a style reference into studio-style images. Compare AI models in one place.
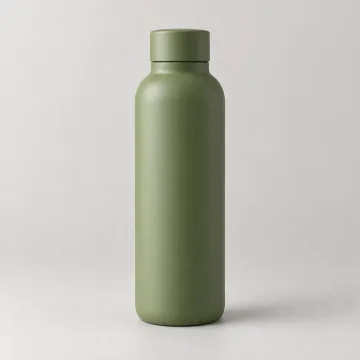
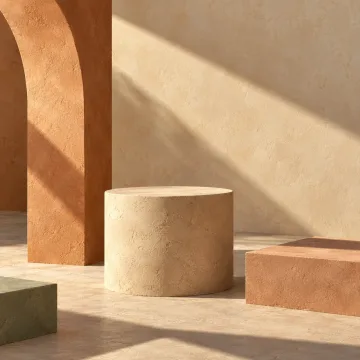
Saved examples · 4 AI models
Free credits to start · No credit card
How Do You Choose the Right AI Photo Editing Tool?
Selecting a tool depends on three factors: your skill level, the type of edits you need, and whether brand consistency matters.
For absolute beginners
Tools like Canva's AI photo editor and Google Photos' AI editing features like Magic Eraser and Unblur offer one-click operations — background removal, auto-enhance, and object replacement — with no learning curve. These work well for social media posts and quick fixes.
For content creators and small businesses
Platforms like Adobe Firefly's AI photo editor provide prompt-based editing with more control over aspect ratios, styles, and output resolution. Adobe recommends starting prompts with at least five words for optimal results. Leonardo AI's image editor is another strong option that combines generation and editing in a single workflow.
For brand teams needing consistency
Platforms that support style locking — where you upload reference photos and the AI maintains your visual identity across all outputs — are essential for businesses producing imagery at scale. This approach eliminates the need to re-describe your brand's look in every prompt.
| Need | Recommended Tool Type | Example |
|---|---|---|
| Quick one-click fixes | Drag-and-drop editor | Canva |
| Prompt-based creative edits | Text-to-edit platform | Adobe Firefly |
| Brand-consistent generation + editing | Style-lock platform | AvocAIdo |
| Batch processing for photography | AI-assisted photo organiser | ON1 Photo RAW |
How to Edit a Photo with AI: Step-by-Step Workflow
Follow these 7 steps to complete your first AI photo edit, regardless of which tool you use.
Step 1: Prepare your source image
Upload a high-quality original in JPG, PNG, or WebP format. AI tools perform best with well-lit, sharp images. A blurry or underexposed source will produce subpar results — AI enhances, but it cannot fully reconstruct missing detail.
Step 2: Define your editing goal
Before writing a prompt, decide exactly what you want to change. Common beginner goals include:
- Remove or replace a background
- Add or remove an object
- Change lighting or colour tone
- Upscale resolution for print
- Apply a specific visual style
Step 3: Write a specific prompt
This is where most beginners underperform. Vague prompts like "make it better" produce unpredictable results.
Weak prompt: "Edit the background."
Strong prompt: "Replace the background with a clean white studio setting, soft diffused lighting from the left, subtle shadow beneath the product."
Picsart recommends a four-part prompt structure: subject + setting + style + technical details. Adobe recommends at least 5 words minimum.
Step 4: Select your edit area (if applicable)
In selection-based tools like Adobe Photoshop's Generative Fill, you draw around the area you want to change. Leaving the prompt blank removes content; adding a description generates new content within the selection.
Step 5: Choose output settings
Select your aspect ratio and resolution. Common options include 1:1 (social media), 16:9 (web banners), and 9:16 (stories and reels). Higher resolutions (2K–4K) are available on most professional-tier plans.
Step 6: Generate and compare
Run the edit. If your tool supports multiple outputs or models, compare results side by side. Different AI models interpret the same prompt differently — what looks flat in one may appear vibrant in another.
Step 7: Refine and export
Review the output at full resolution. If needed, run a second pass with an adjusted prompt. Export the final image and confirm it includes a commercial licence if you plan to use it for business.
What Are the Best AI Prompts for Photo Editing?
Writing effective prompts is the most important skill in AI photo editing. Here is a framework that works across platforms:
The 4-Part Prompt Formula
- Subject — What is in the image (e.g., "a ceramic coffee mug")
- Setting/Background — Where it exists (e.g., "on a marble countertop in a modern kitchen")
- Style/Mood — The visual feel (e.g., "warm morning light, lifestyle photography aesthetic")
- Technical details — Camera or rendering specifics (e.g., "shallow depth of field, soft bokeh")
Example prompts for common edits
| Edit Type | Example Prompt |
|---|---|
| Background replacement | "Replace background with a sunlit outdoor café terrace, warm afternoon light, blurred pedestrians in background" |
| Object removal | "Remove the water bottle from the table, fill with matching wood texture" |
| Style change | "Apply vintage film grain, slightly desaturated warm tones, soft vignette" |
| Upscale + enhance | "Upscale to 4K, sharpen details, preserve natural skin texture" |
| Product shot | "Place product on reflective black surface, single spotlight from above, dark moody studio" |
According to Picsart's prompt guide, specificity consistently outperforms length — 15 precise words beat 50 vague ones.
How Do You Maintain Brand Consistency When Editing Photos with AI?
Brand consistency is the difference between a professional visual identity and a random collection of images. For businesses producing 10+ images per month, manual style matching becomes unsustainable.
The style-locking approach
Rather than describing your brand's look in every prompt, style-lock platforms let you upload 1–8 reference photos. The AI analyses:
- Colour palette
- Lighting direction and quality
- Composition patterns
- Mood and atmosphere
All subsequent generations and edits inherit these characteristics automatically, regardless of the subject matter.
Why this matters for conversion
Product listings with AI-enhanced images that maintain consistent brand styling achieve conversion rates 27% to 34% higher than standard photos, according to industry data reported in our guide on how AI photo editing works and why brands need it.
Practical tips for consistency
- Use the same 3–5 reference photos across all editing sessions
- Lock lighting and colour palette as "must keep" attributes
- Generate multiple options and select the one closest to your brand guidelines
- Save your style settings as a reusable template
What Are Common Beginner Mistakes in AI Photo Editing?
Avoiding these pitfalls will save you time and credits:
1. Starting with poor source material
AI enhances — it does not rescue. A dark, blurry phone photo will produce a dark, blurry AI edit. Start with the best original you have.
2. Over-editing in a single pass
Stacking too many changes in one prompt confuses the AI. Edit one element at a time, then build up.
3. Using vague prompts
"Make it look professional" means nothing specific to an AI model. Describe exactly what "professional" looks like: lighting, background, colour temperature, composition.
4. Ignoring aspect ratio and resolution
An image edited at 512×512 pixels will not print well. Always set your output resolution before generating.
5. Not comparing multiple outputs
Different models produce different interpretations. Running the same prompt across multiple models — or generating multiple variations — dramatically increases your chances of getting a usable result. Platforms that generate across 4 AI models simultaneously give you built-in comparison without extra effort.
6. Forgetting commercial licensing
Not all AI-generated or AI-edited images come with commercial usage rights. Verify your tool's licence terms before publishing.
How to Scale AI Photo Editing for Business Use
Once you have mastered single-image edits, the next step is scaling your workflow for consistent, high-volume output.
Batch workflows
- Establish your brand style using reference photos
- Create a prompt template for your most common edit type (e.g., product background swap)
- Run the template across all images in a batch
- Review outputs and select the strongest from each set
- Export all finals in your required formats and resolutions
When to upgrade from free tools
Free tiers are excellent for learning, but they typically limit resolution, output volume, or commercial rights. Consider upgrading when:
- You need more than 10–20 images per month
- You require 4K resolution or specific aspect ratios
- Commercial licensing is non-negotiable
- Brand consistency across dozens of images matters
Enterprise users already account for 42.3% of AI image editor market revenue, reflecting how quickly businesses are adopting these workflows at scale.
AvocAIdo Tip
If you need brand-consistent AI editing without prompt engineering skills, AvocAIdo's ArtDirector AI converts plain-language descriptions into professional, model-optimised prompts — at no additional credit cost. Upload 1–8 reference photos, lock your brand style, and generate across 4 AI models in parallel (Grok Imagine, Seedream 5 Lite, NanoBanana 2, GPT Image 2) to compare results instantly. The free trial includes 4,000 credits with no credit card required — enough to test the full workflow before committing. Check AvocAIdo pricing for details on all plans.
For more AI image editing tutorials and guides, explore the AvocAIdo blog.
FAQ
How do I modify an existing picture with AI?
Upload your image to an AI photo editor (such as Adobe Firefly, Canva, or AvocAIdo), then describe the change you want in a text prompt. For example, type "remove background and replace with white studio" to swap the setting. Most tools process the edit in under 30 seconds and offer multiple output variations to choose from.
Do I need design skills to edit photos with AI?
No. Modern AI editors are designed for non-designers. You describe what you want in plain language, and the AI handles the technical execution. Adobe recommends prompts of at least 5 words, but no knowledge of layers, masks, or colour theory is required.
What is the best AI prompt for photo editing?
The most effective prompts follow a four-part structure: subject + setting + style + technical details. For example: "Product on marble surface, soft natural window light, clean minimalist aesthetic, shallow depth of field." Specificity matters more than length — 15 precise words outperform 50 vague ones.
Is AI photo editing free?
Many platforms offer free tiers or trials. Canva provides basic AI editing tools on its free plan. AvocAIdo offers 2,000 free credits with no credit card required. Free tiers typically limit resolution, volume, or commercial licensing.
Can AI maintain a consistent brand style across multiple photos?
Yes, through style locking. You upload reference photos that define your brand's colour palette, lighting, and mood. The AI then applies those characteristics to all subsequent edits and generations, regardless of subject. This eliminates the need to re-describe your visual identity in every prompt.
What file formats work with AI photo editors?
Most AI editors accept JPG, PNG, and WebP formats. Some also support TIFF and HEIC. For best results, upload images at the highest resolution available — AI enhancement works better with more source data.
How long does AI photo editing take?
Most prompt-based edits complete in 5–30 seconds depending on the platform, model, and output resolution. Batch processing multiple images may take longer, but it is still dramatically faster than manual editing, which can require 15–60 minutes per image for comparable results.
Is AI-edited content safe to use commercially?
It depends on the platform. Some tools include commercial licences on all outputs (AvocAIdo includes this on all plans), while others restrict commercial use to paid tiers. Always verify the licence terms before publishing AI-edited images in marketing materials or product listings.
Ready to create your own images?
Bring a brief or a reference image. Explore the possibilities with four AI models.
Free credits to start · No credit card